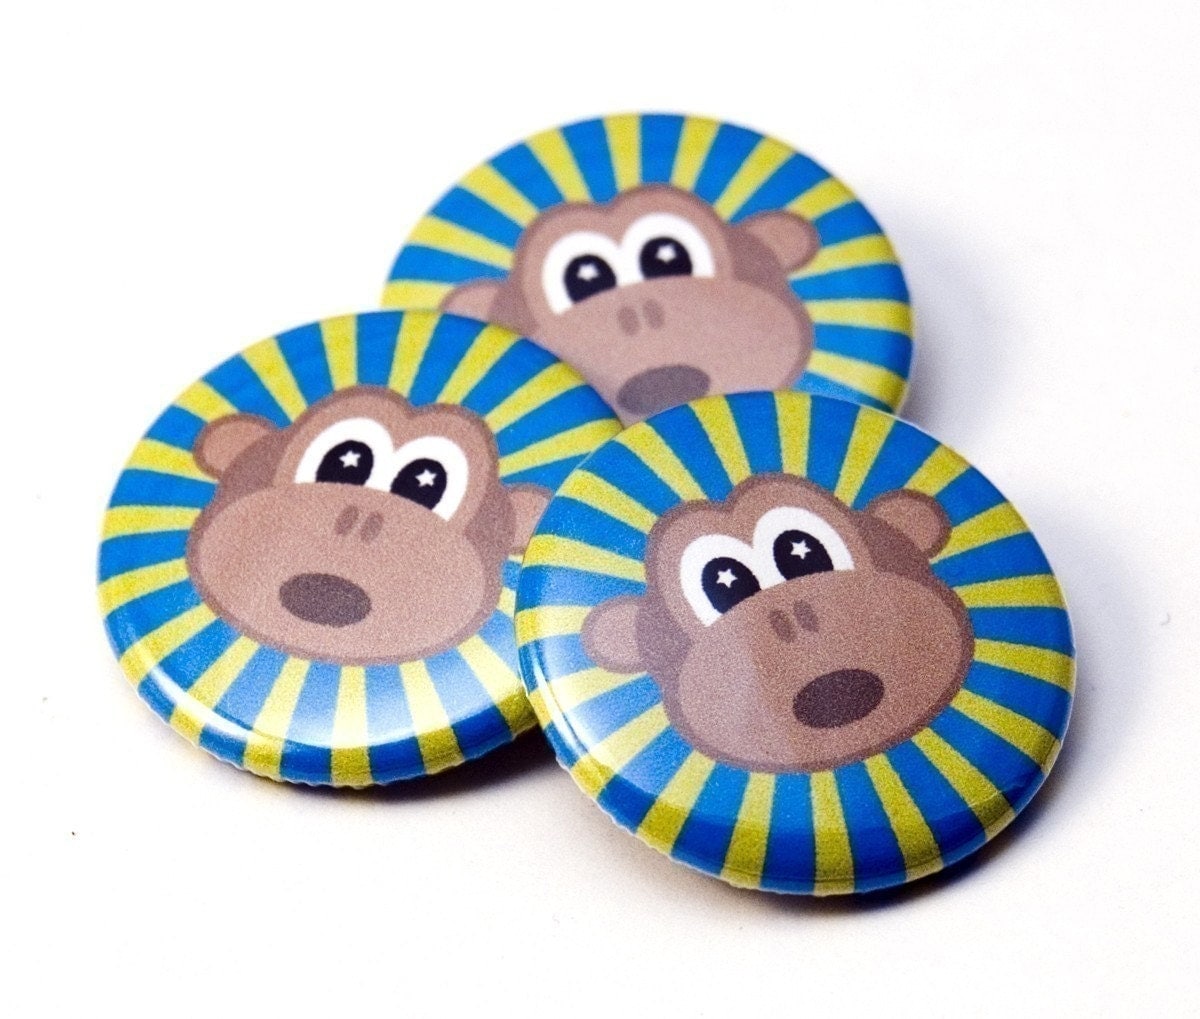
I'm pleased to tell you I have three more follow-up interviews coming in the Collaboration series. While those are percolating, I thought I'd attempt my first "work in progress" posting. I love it when artists post these and I am woefully bad at doing it myself. When I'm caught in the frenzy of making something, I rarely stop to get out the camera and take pictures.
What better place to start, than with my collaboration with Jill, from Barrel of Monkeys. My inspiration for approaching Jill for permission to use one of her buttons in my design actually came from my Mother-in-Law, Judy. Judy (and her husband Earl) is one of my main sources for bottle caps and one day she handed me these three pins from Bell's Brewery knowing my love for reusing stuff.
I have a project planned for these jewels, but my Collaboration series sidetracked me for the moment. I had purchased several of Jill's pins in the past for gifts and couldn't resist using one in my first design. They are the perfect shape for using as a cabochon with no additional prep work needed. The only thing I did was remove the pin finding from the back. (Note: If this had been an antique pin, I'd have made a pendant instead and would have kept the pin in place so as not to destroy it's value).
Although it was screaming to be a pendant, I decided I'd made enough of those recently and I screamed back, you are a cuff, you are a cuff. I like to try new techniques so rather than a brass cuff, I'm going for a softer foundation. I found a fusible Peltex at Joann Fabrics that has the right weight to it (Note: you can get this as fusible on both sides, one side, or nonfusible). There are many materials you can use as a foundation for bead embroidery which may be a good series for another post (always thinking ahead).
There are several methods you can use with bead embroidery, you can bead as you go, draw out your design first, or do as I did here and find a fabric that coordinates with your design. The advantage of this method is that it gives me some design lines I can follow (or not) and the color will show through any gaps in the beading. (Note, I strongly advise dying your foundation or using a color that will blend with your embroidery, I really dislike seeing the white foundation in this type of work).
To prep the piece, I first ironed the fabric to the fusible side of the Peltex and then glued the button to the center. Allow it to dry for several hours.
The next step is bezeling the centerpiece. This is both decorative and functional as it holds the button securely in place (never rely on glue alone). Usually I would embellished the bezel next, but I learned from experience that I need to do the surrounding beading first so whatever embellishment I choose doesn't get in the way (plus I haven't decided yet what to do).
The last step is a decorative surround which can also be used as a foundation for further embellishment or left alone. You can also see I've added guide lines, this keeps me from stitching too close to the edge, I'll need some room for attaching a backing.
The easy part is done and now I'm stuck. My original thought was corkscrew fringe all around the bezel, however, that may be too wild and too delicate for a cuff. I need to decide whether I'm going to follow the lines of the fabric, whether I'm going to add other stones, and what I'm going to do as a closure. My first instinct is not to include other stones or keep them to a minimum and focus instead on creating patterns and textures with seed beads. I'm really going to try not to embellish the focal point until the end (embellishing is my favorite thing, but I need restraint here).
I'll do my best to take pictures at each step that I can share with you as I finish this piece. As always, your suggestions and comments are most welcome.


7 comments :
I truly need to learn embroidery! I haven't attempted it yet (I don't know why I have an extensive cross stitch background ) I'm just not sure I can pick the right combos I guess. You do inspire me!
I like the idea of seed beads following the fabric lines---there is lots of possibilities with that.
Maybe then that is done, you might consider just a few larger beads around the monkey face---to give it the feel of little exclamation marks. (bigger bead w/seed bead cap)
I don't speak bead language so this is clear as mud.....
XXOO!!
Anne
Kristen,
This is only my third piece, the first being a beaded block on a butterfly quilt left to me by my grandmother. Start with something small and you'll be doing it in no time. The results are worth pulling your hair out deciding what goes where, lol.
Christine
Anne,
You speak bead language very well, lol and thanks for the advice, I love the idea of exclamation points, I have some dagger beads that might do the trick!
Chrisitne
Oh that is just too cute. I love it. I call my 4yo man my cheeky little monkey so I'd love to get some of these... soooo cute!
Can't wait to see the final piece.
Karyn
awesome!!! It's neat to see both of your stuff togetehr. And I like the idea of the beads flowing into the pattern on the fabric to :)
Embellish! Embellish...no one does it better'n YOU. Let your freak flag fly. Too much of a good thing isn't...neat work!
Post a Comment